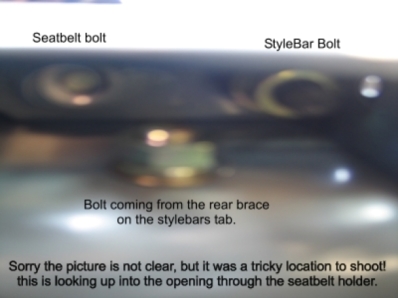
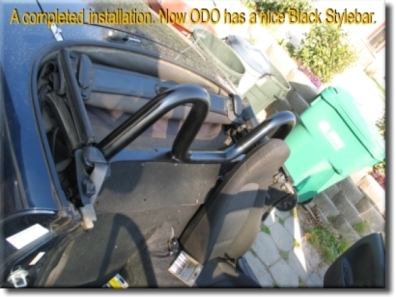
Here is a Style bar installation we did.


Text Box: We got a black stylebar donated to our project from one of our SOCALM members that had to sell his car. Thanks to Wynn K.
Remove the screws as shown to remove the molding around the tower. notice the cutouts for the hard top (The ovals).

Text Box: Be careful when removing the panels. You do not want to break any pegs that align up the parts to the car.

Text Box: That's much better now. Clear again and now we will add a couple of chrome rings to the inside dash part to add a little bling to ODO's dash.The Dash Removed

Text Box: I know the picture is not to clear but it was shot through a hole in the tower. Notice there is a bolt that goes in from the rear and one that comes from the top. Tighten all bolts when both sides have been finger tightened and aligned.

Text Box: Be careful when removing the seat belt retractor, I kept mine level and some have wiring attached just set it behind the seat while you work. 
Text Box: This was a project I did when I first got ODO to run but noticed I still had a few wiring problems which is why I am now having to redo a lot of more work with more attention to detail inspections. 
I like the look of a stylebar on a Miata.

Work
Cleaning Speedo Plastic


More to come Check back often